This article explains the final concept that you should understand if you want to make sure your next home energy improvement project has maximum benefits (savings and comfort!) and minimal costs (your time, money, and frustration). If you haven’t already, take a few minutes and start with Concept 1 and Concept 2. This article will help you even more if you’ve got those ideas in your head already.
If you’ve read both previous articles in the series, or even if you’ve been reading since the first post, you may have noticed that I haven’t mentioned insulation, or the phrase “R-value” (which describes how well a material or assembly insulates), even once. Perhaps it seemed strange to you that a website called Green Old Home would leave something so obvious out of the equation.
That’s because while insulation can obviously play an important role in reducing your heating and cooling losses—and therefore your energy consumption, and your bills—it is absolutely not at the top of the list of the most critical ways to make your old home more “green.” And unfortunately, I would bet that most owners of old homes believe that it is. So to clear up the misunderstanding, allow me to explain Concept 3:
Air sealing is not the same as insulating (usually). Air sealing is almost always more important.
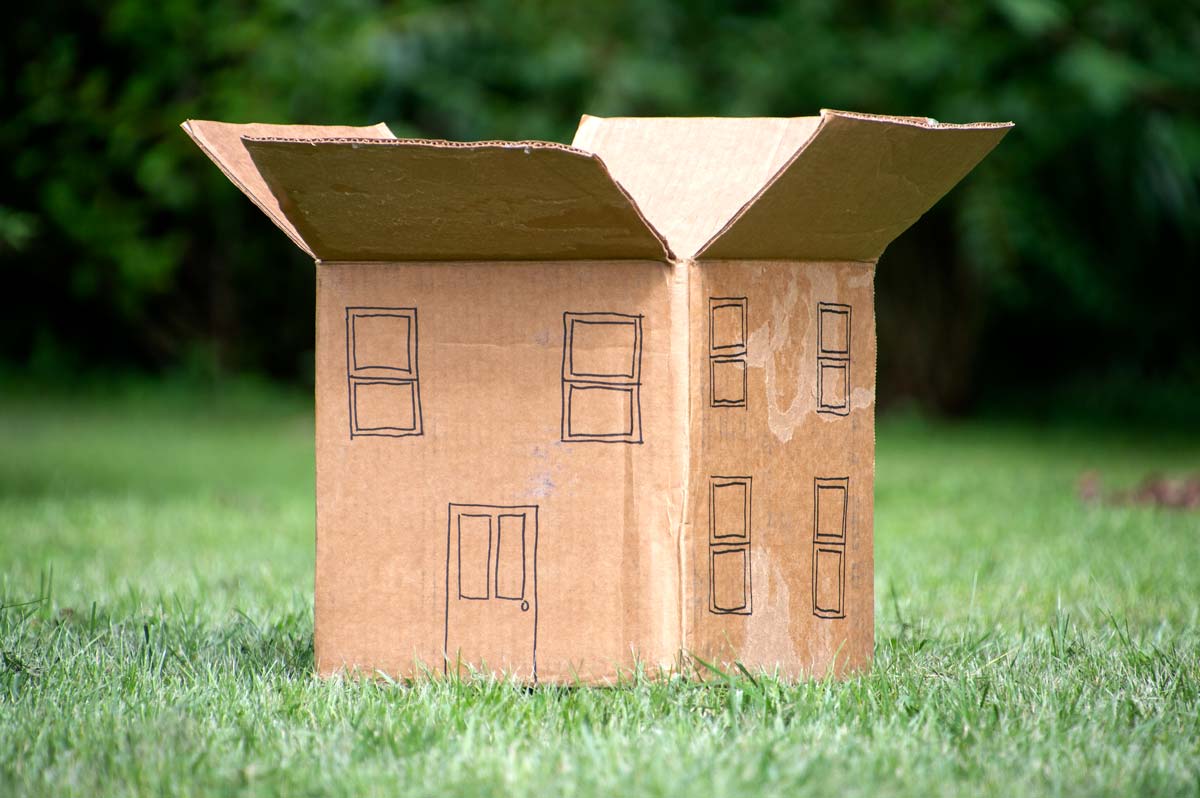
As an illustration, let’s take a look at this computer rendering of a house:

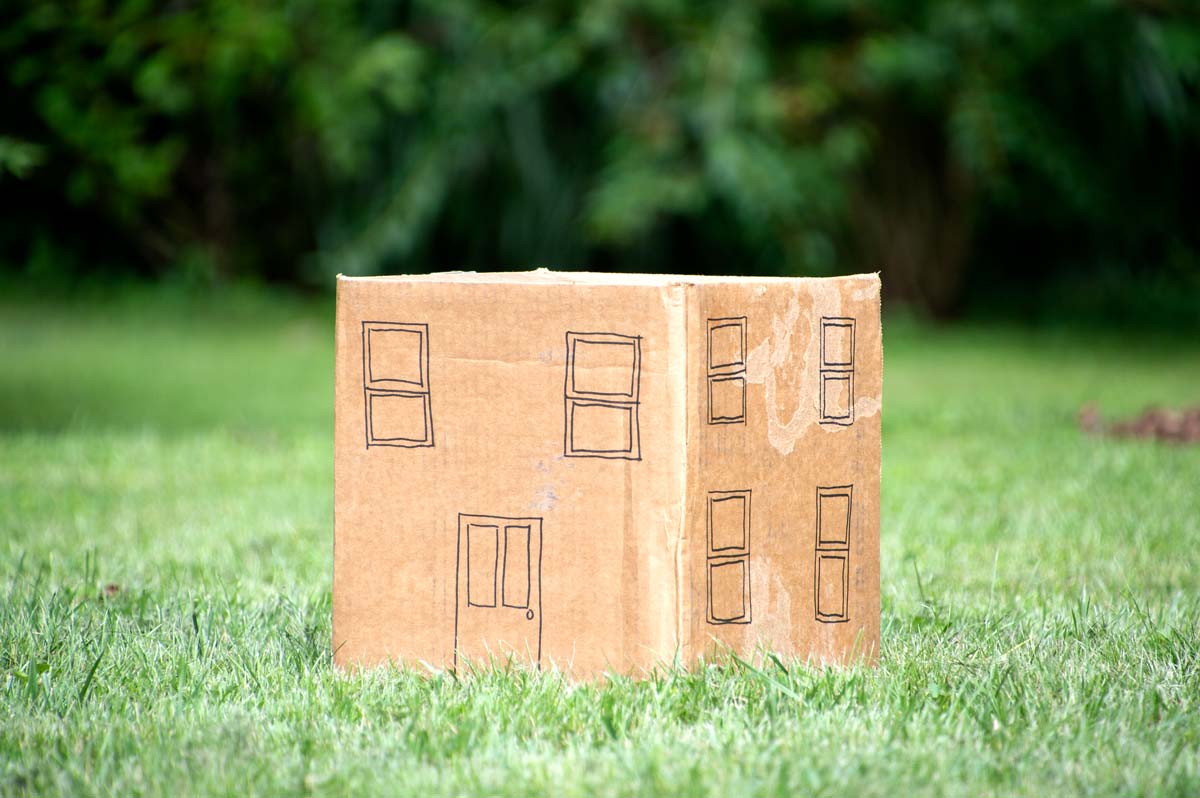
If this were your house, and you had to pay to heat and cool it, you would be wasting a lot of money and energy. And you’re smart enough to know that adding insulation would not be the most effective way to fix the problem. That’s because in this extreme case, it’s obvious that all of your conditioned air (heated or cooled) would be wasted because of the giant hole in your roof. Adding R-value to the walls and windows might have some marginal benefit, but it would be a crazy place to start. You need a ceiling and a roof first:

Now that we’ve got the top flaps closed, your heating and cooling losses through air leakage will be much, much lower. But you also know that the top of a closed cardboard box has seams—gaps—where the pieces come together. These gaps will still allow your conditioned air to escape, albeit more slowly. And as we discussed in Concept 2, that escaping air will be instantly replaced by air leaking in any way it can—in our model above, every black line you see represents a potential entry point for outside air.
Sure, your actual house’s uppermost ceiling may not have a giant seam running down down the middle and the edges like a cardboard box. But think how many gaps and joints do exist: at a minimum, if you have ceiling fixtures, they are mounted to electrical boxes cut into holes in your ceiling. But do you also have an attic hatch? A skylight? A chimney? Come to think of it, do you have gaps at the edge of your ceiling almost like our cardboard box thanks to cracks in your plaster or drywall? All of those gaps, cracks, and joints add up—to the equivalent of having a big hole right in the middle of your ceiling, which your conditioned air will happily escape through.
And here’s the key point: insulating your attic using fiberglass batts or the other most common DIY methods will not fix this problem. Why? That air will leak right through or around your insulation. We’ll discuss the different types of heat transfer in another article, but the basic concept is that insulation is the solution to another problem. And before you address that other problem, you want to address the air leakage directly: by sealing gaps, cracks, and joints to prevent airflow.
But Wait…
I can already hear some of you objecting to the idea of air sealing your house. Isn’t it unhealthy to have your house too well-sealed? Doesn’t it lead to stale air and moisture problems? This is a common concern among owners of old homes and building professionals alike. However, it is a terrible excuse to keep wasting energy and money heating and cooling your house.
First, unless you are undergoing substantial demolition and renovation, you are very unlikely to be able to seal your house to the point where you are able to eliminate all air infiltration. Your goal as the owner of an old home is to dramatically slow down the process of air leakage, not to completely eliminate it.
Second, if you somehow do manage to seal your old home so well that you become worried about your air quality, you can always introduce mechanical air intake. Cross that bridge when you come to it (which you probably won’t). The point, as we discussed in the previous article, is control. You should be the one deciding how much fresh air enters your home and when, not the gaps around your front door.
Finally, the best solution to moisture problems is always to address the moisture at its source. This is a topic that deserves its own series of articles, but again—if you are worried about air sealing your house because you have existing concerns about moisture, mold, or related issues, the answer is to address your moisture issues. Not to avoid air sealing your house.
Tying It All Together
If you’ve read all three articles in the series, you’ve probably figured out by now how the physics of your house are constantly working against you. You’ve also probably already got some ideas about where and how to intervene to interrupt those physics in your own home. But here it is, all summed up in a few sentences:
Stack Effect (Concept 2) is constantly drawing warm air to the top of your house. Gaps in your Thermal Envelope (Concept 1) allow that conditioned air to escape—while other gaps in your thermal envelope allow unconditioned air to leak in. This process undermines your comfort and wastes money and energy during both heating and cooling seasons. The direct solution to this problem is Air Sealing (Concept 3) those gaps in your thermal envelope, not insulating them.
There are other important energy concepts to think about in addition to these three, but these basics will take you a looooong way. We’ll come back to the others. Starting in the next article, we’ll finally begin talking about how to start air-sealing your house.